Table of Contents
Base Station Controller
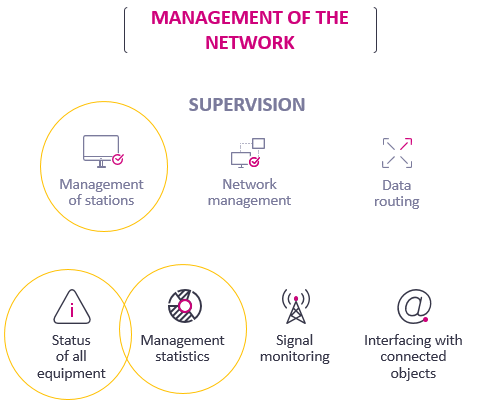
The goal of the BSC is to manage the gateways, supervise their status and collect statistics about them.
Fleet management
A fleet is a collection of gateways.
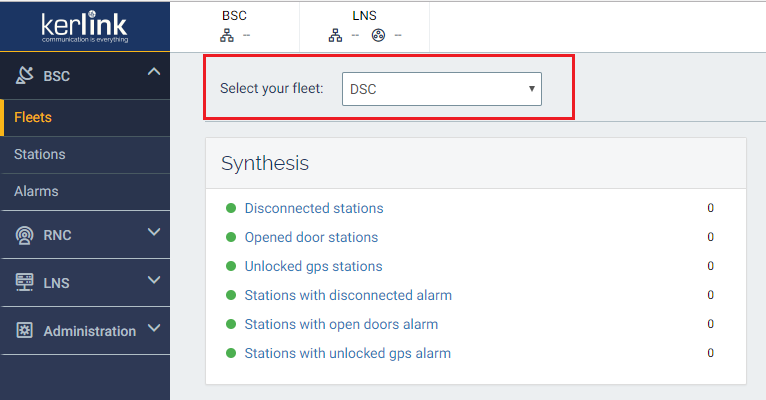
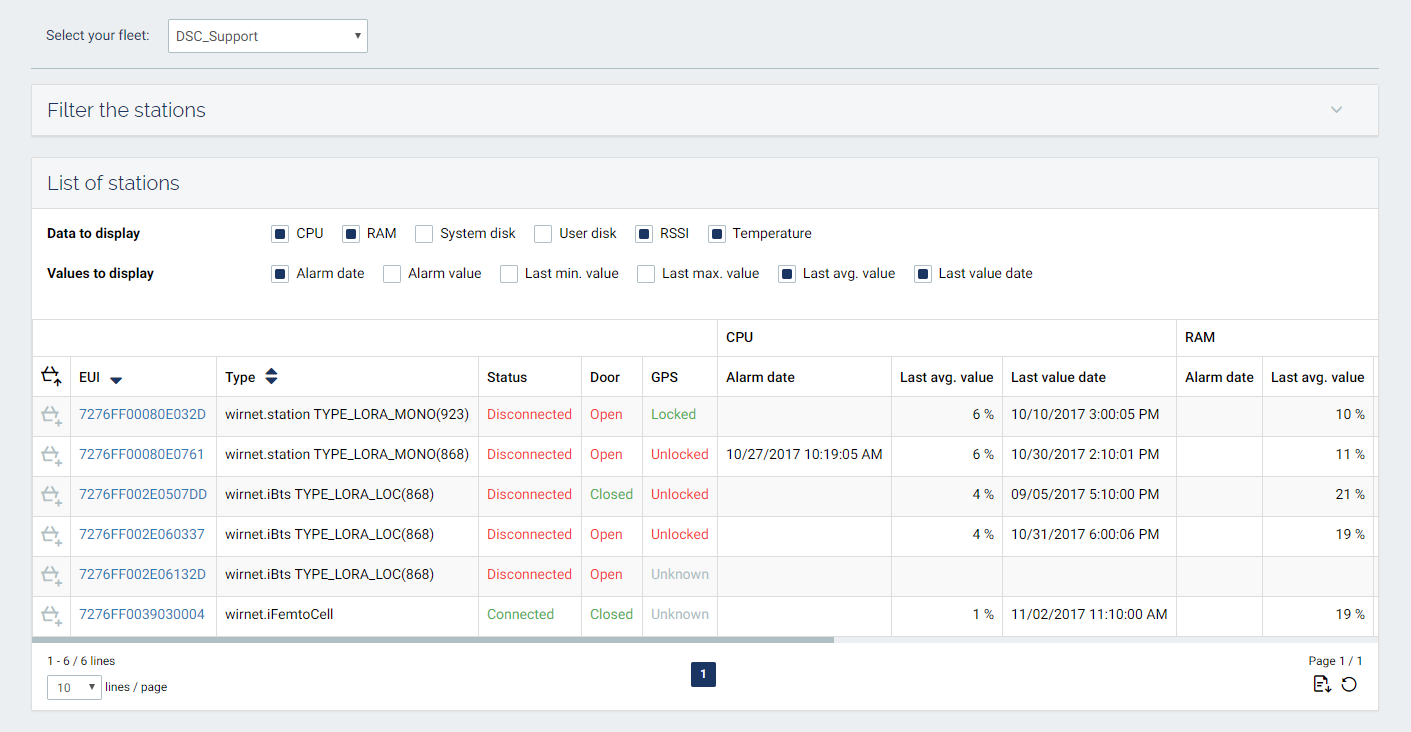
Through the Dashboard interface, a fleet can be selected via the filtering option Select your fleet:
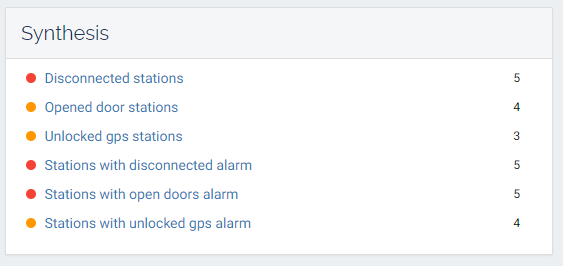
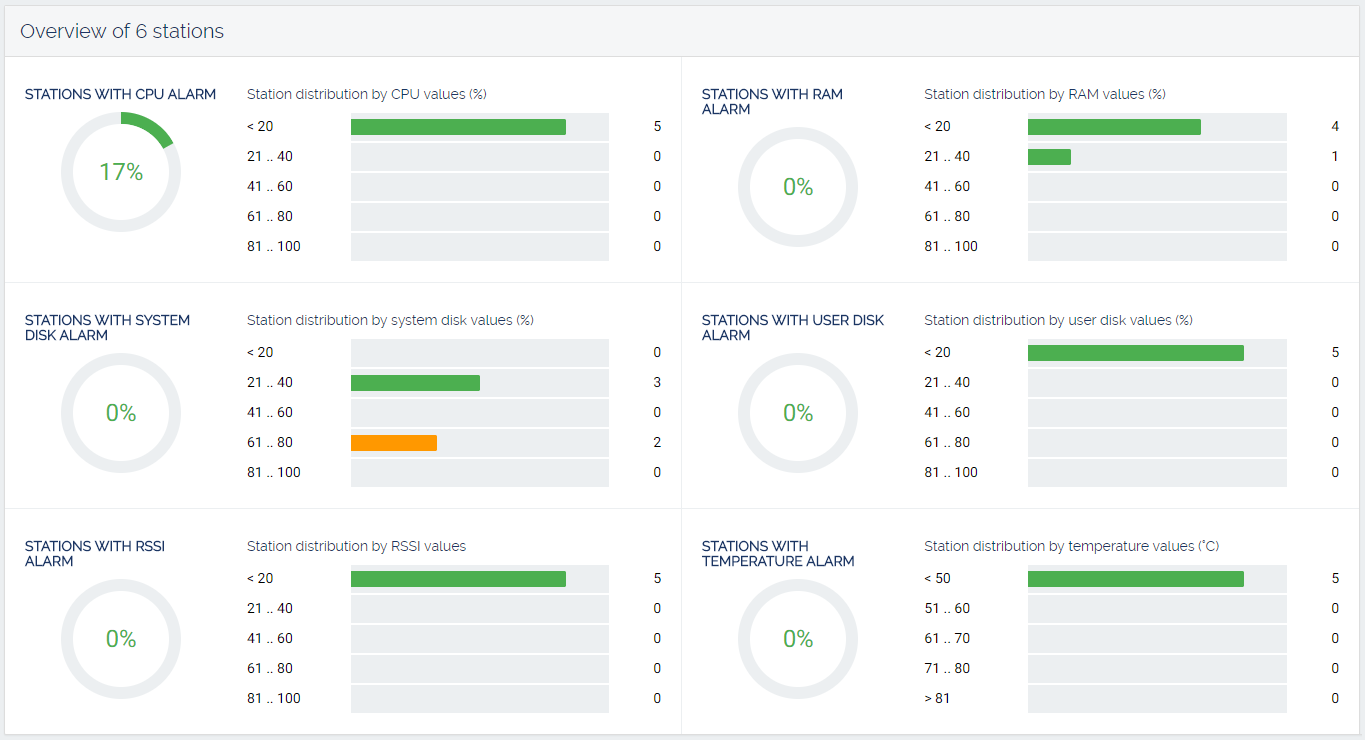
Once a fleet is selected, the following views are prompted to the interface:
Stations management
Dashboard
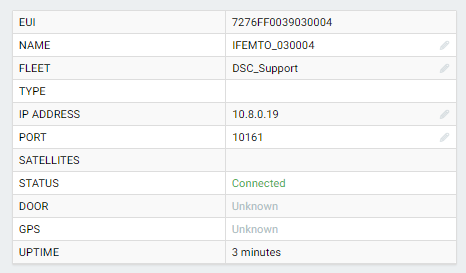
Station Status
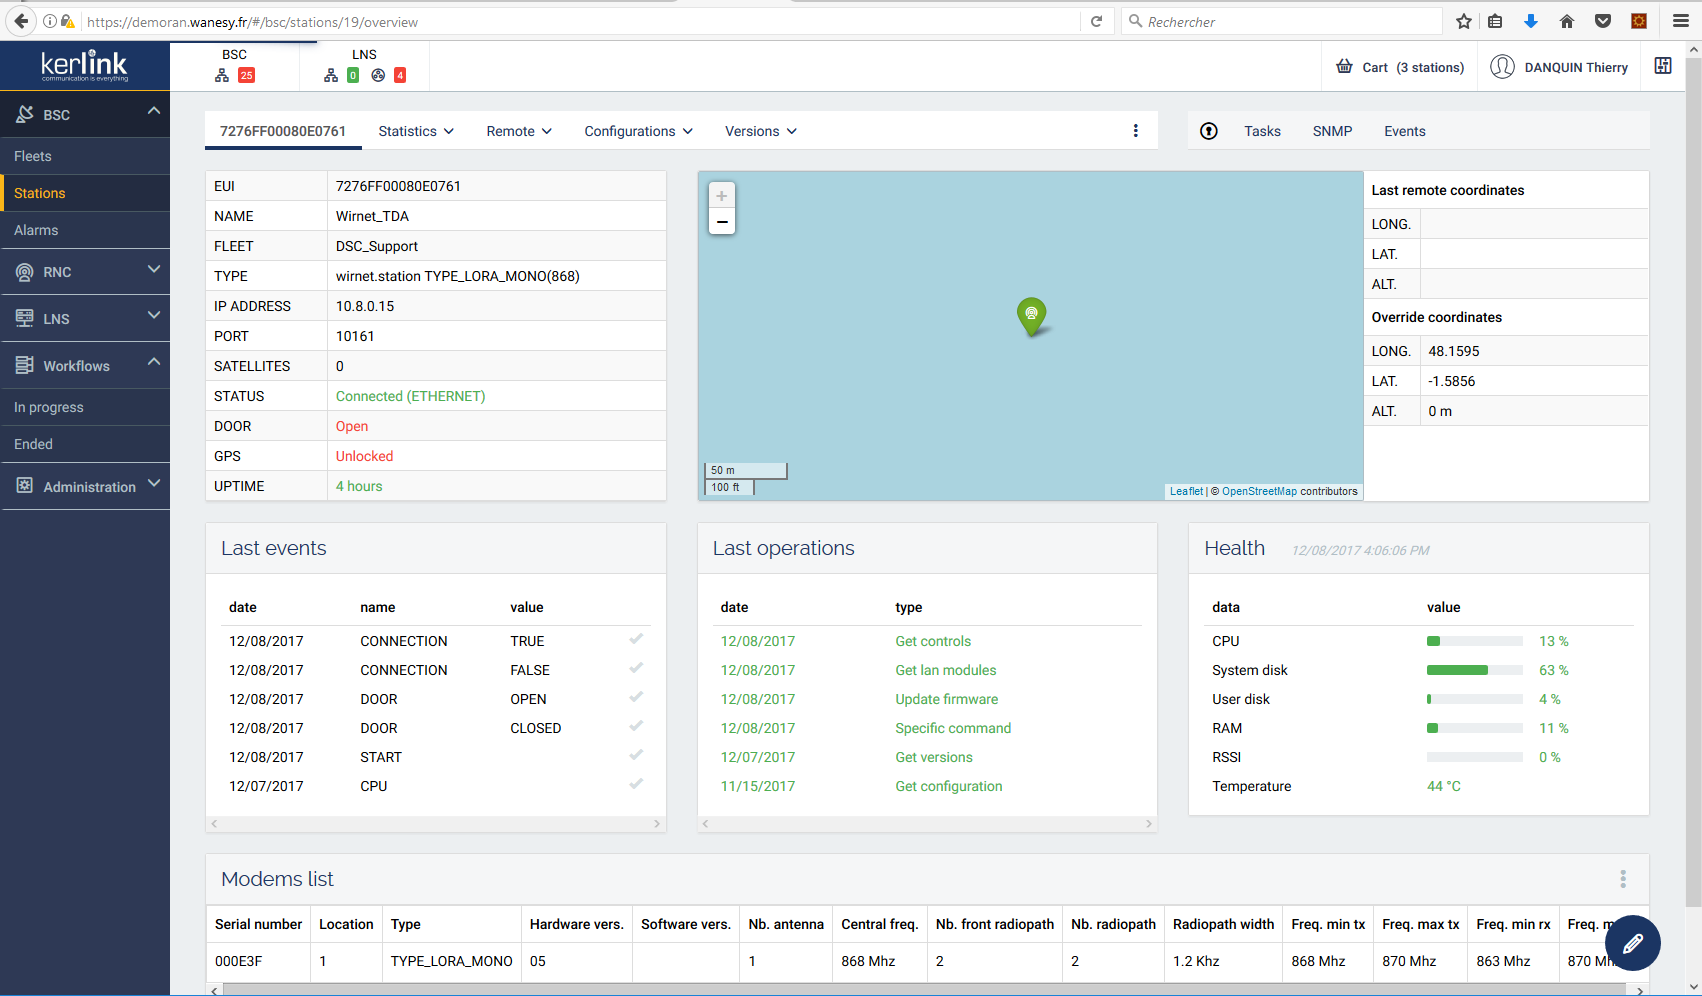
By clicking a particular gateway EUI, you can obtain a high level view of the gateway and its status summary:
Station Statistics
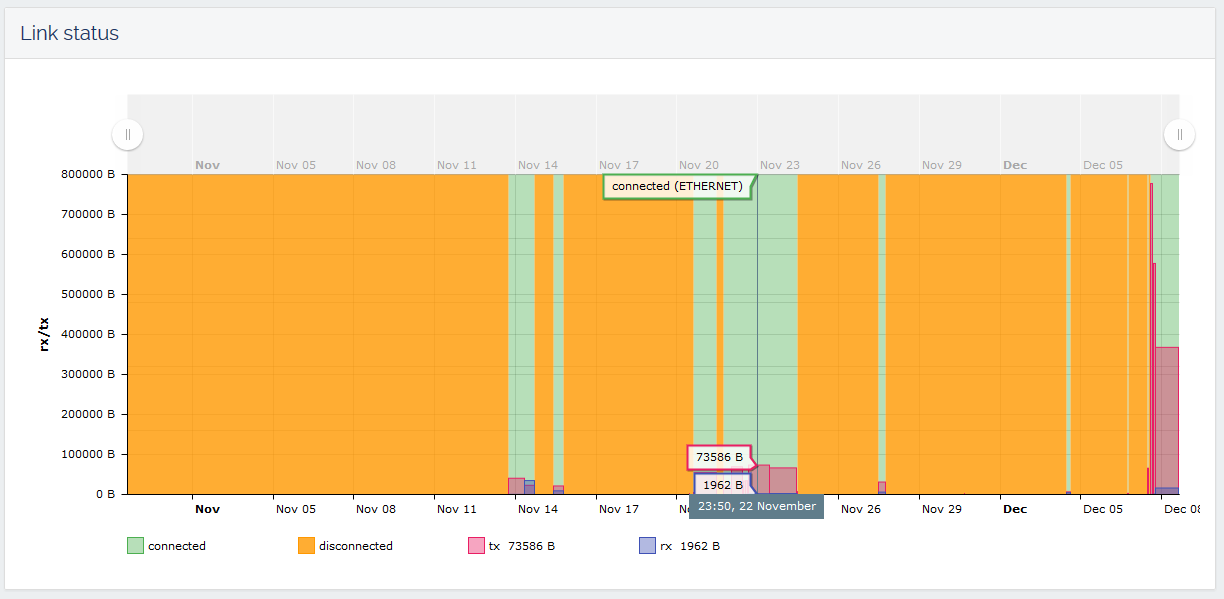
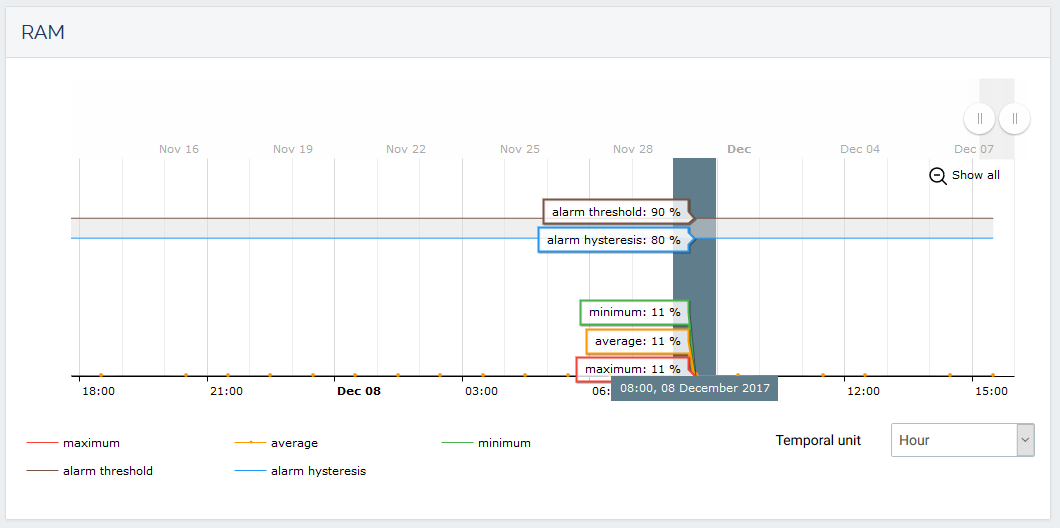
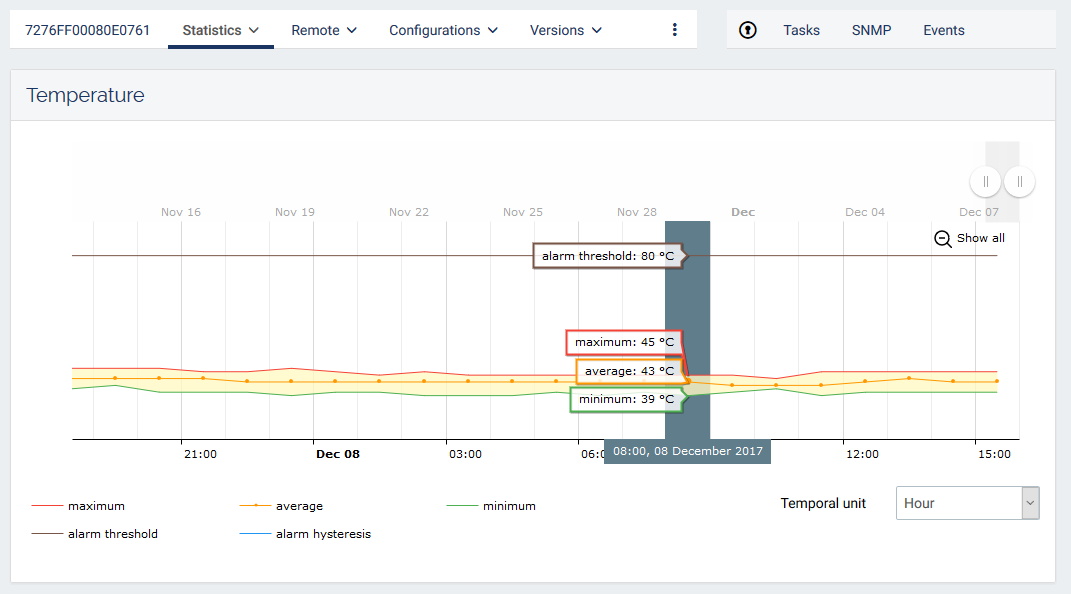
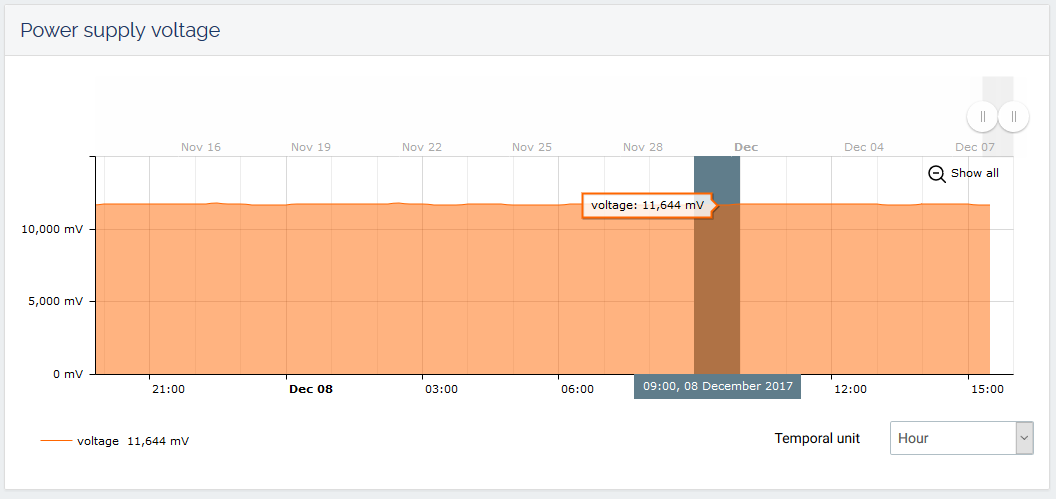
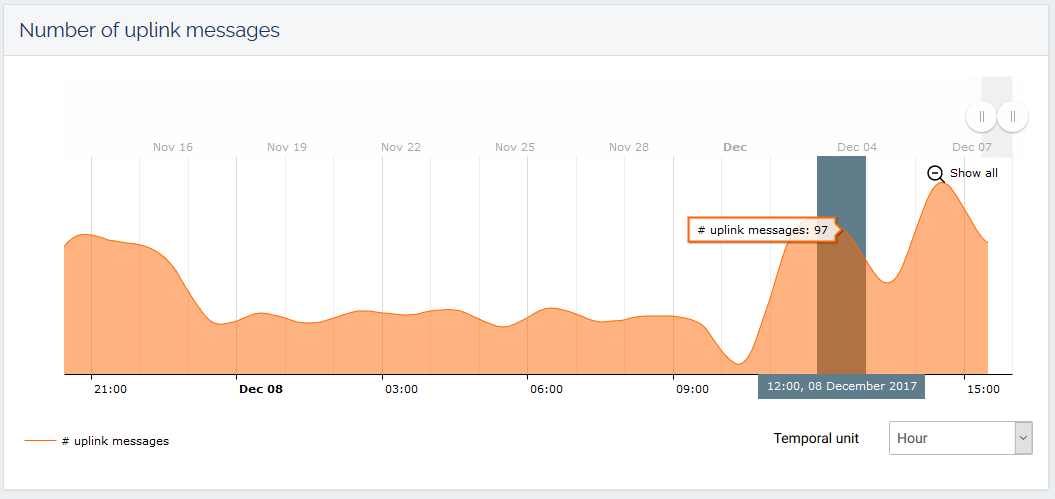
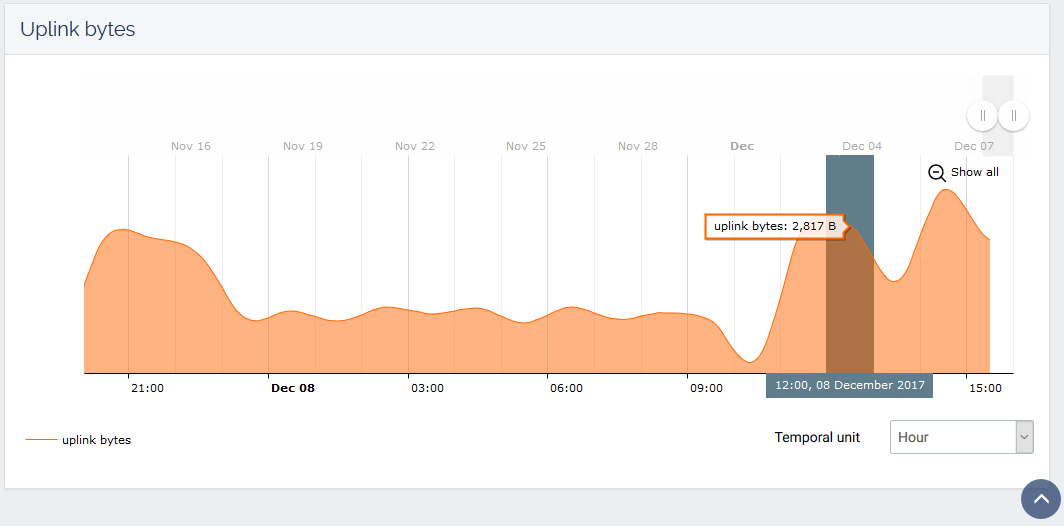
By selecting the Statictics menu option, you can get a detailled and historical view of your gateway:
- Link Status
- RAM
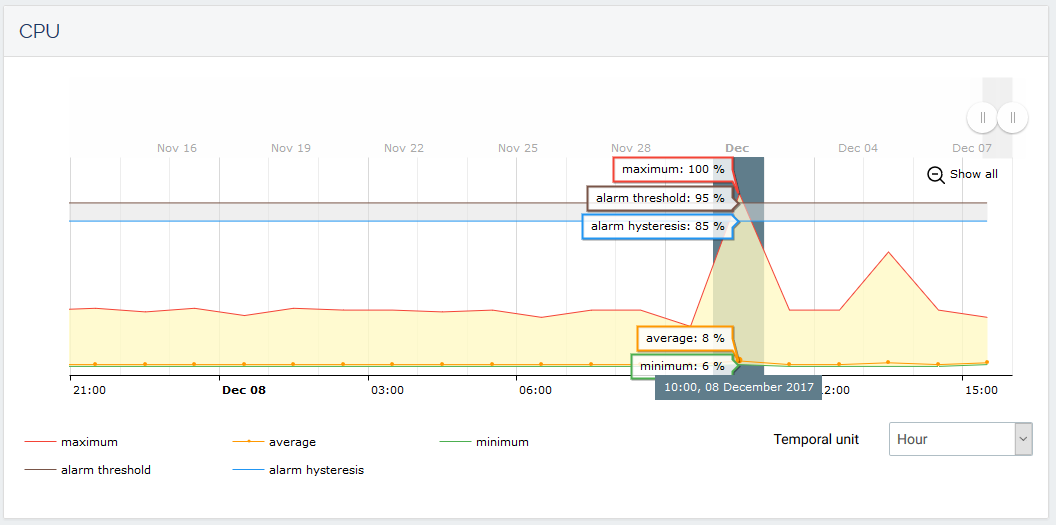
- CPU
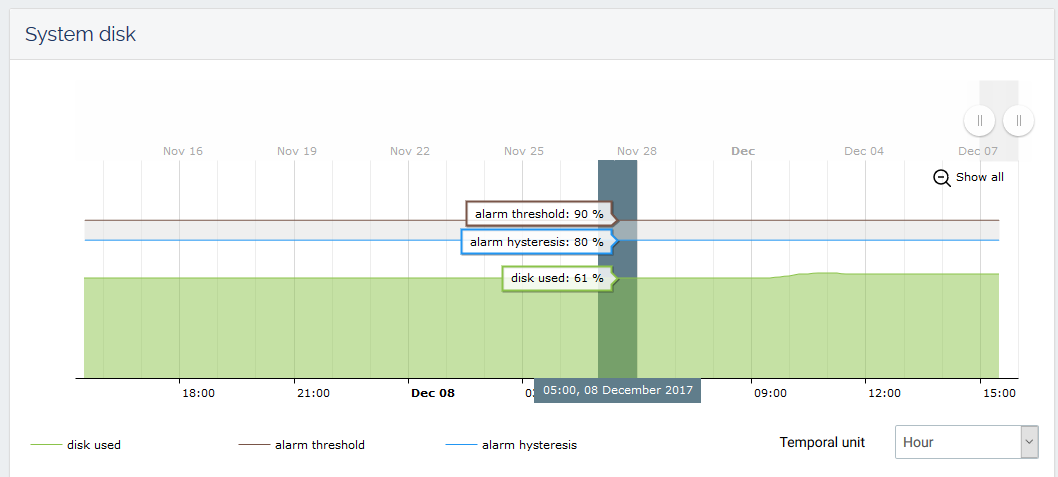
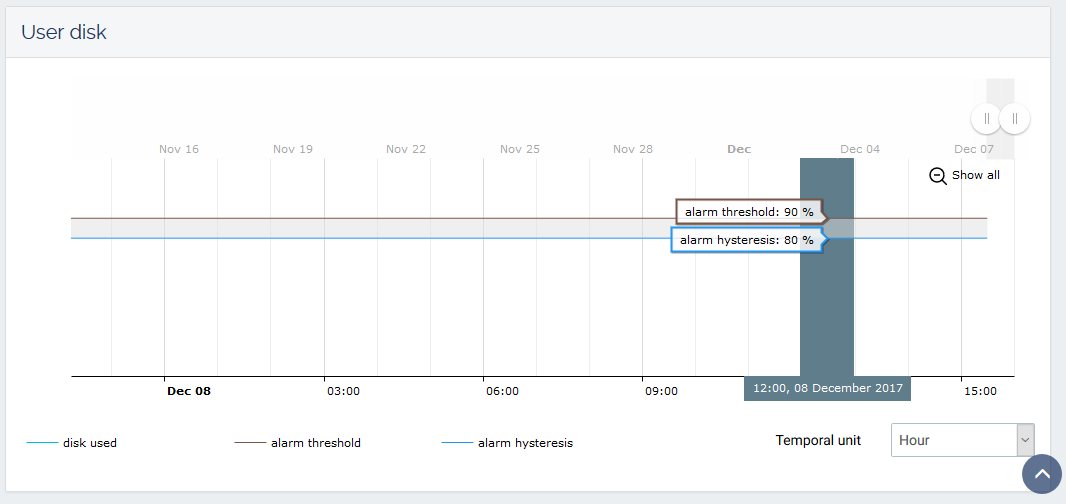
- Disk (System & User)
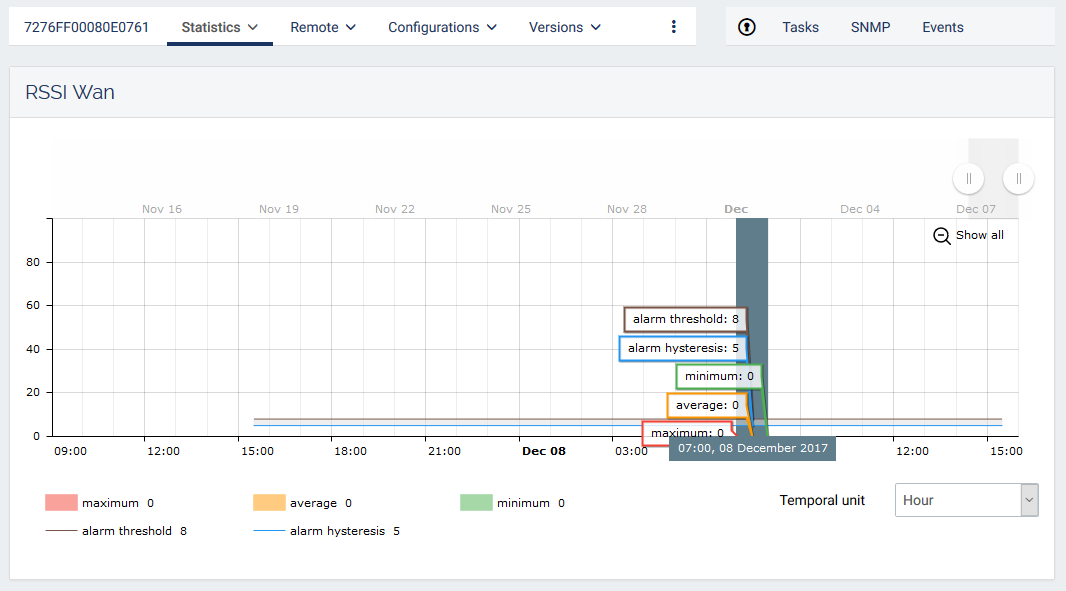
- RSSI
- Temperature
- Power supply
- Uplink (from 2.1 release version)
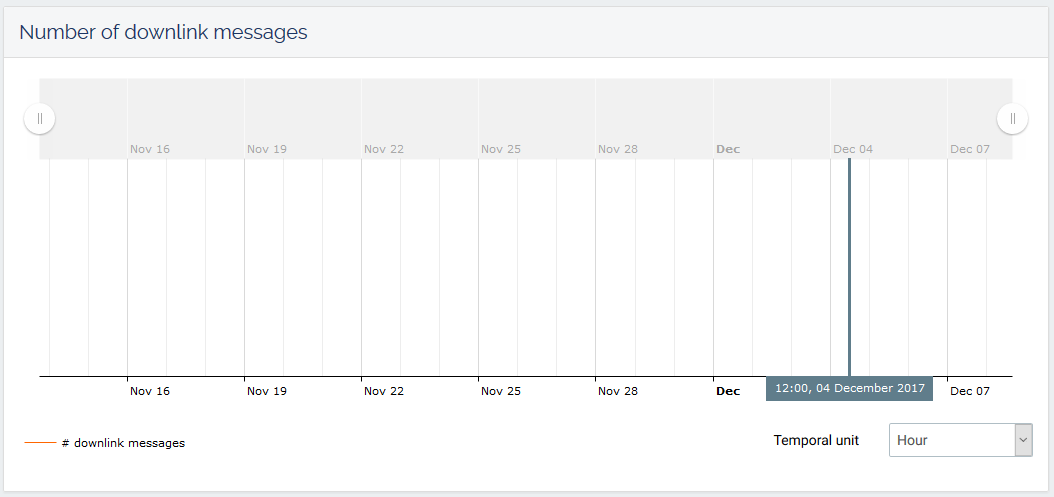
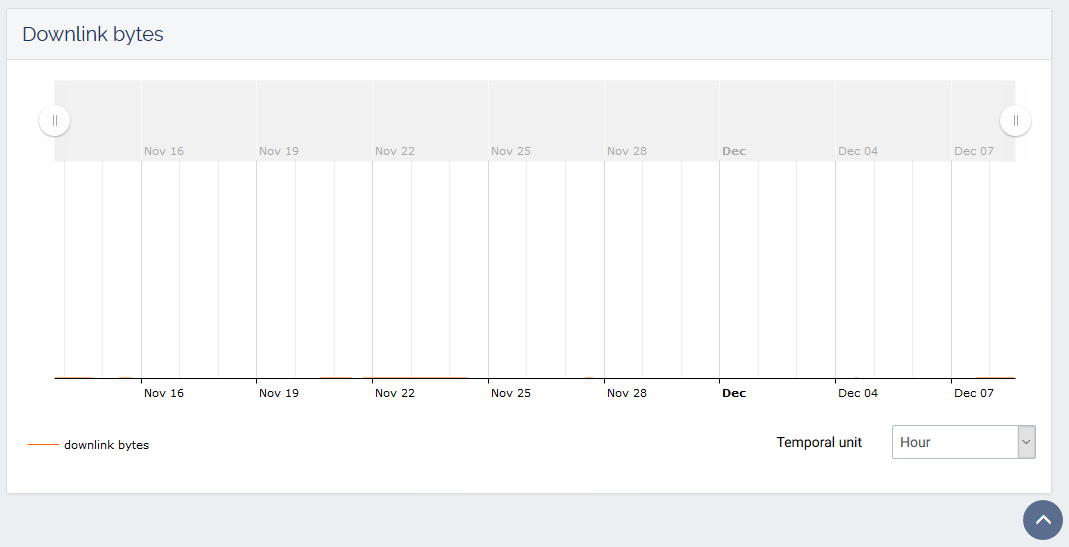
- Downlink (from 2.1 release version)
Stations configuration
Remote connection
- File System explorer
- Shell
- Command
The difference between shell and command is that the former is a full interactive shell, while the latter is just a non-interactive command launch.
The interactive shell may have been disabled by your network or security configuration.
Configuration
Control panel enables to configure
- CPU
- System disk
- Door
Sofware update
Versions information
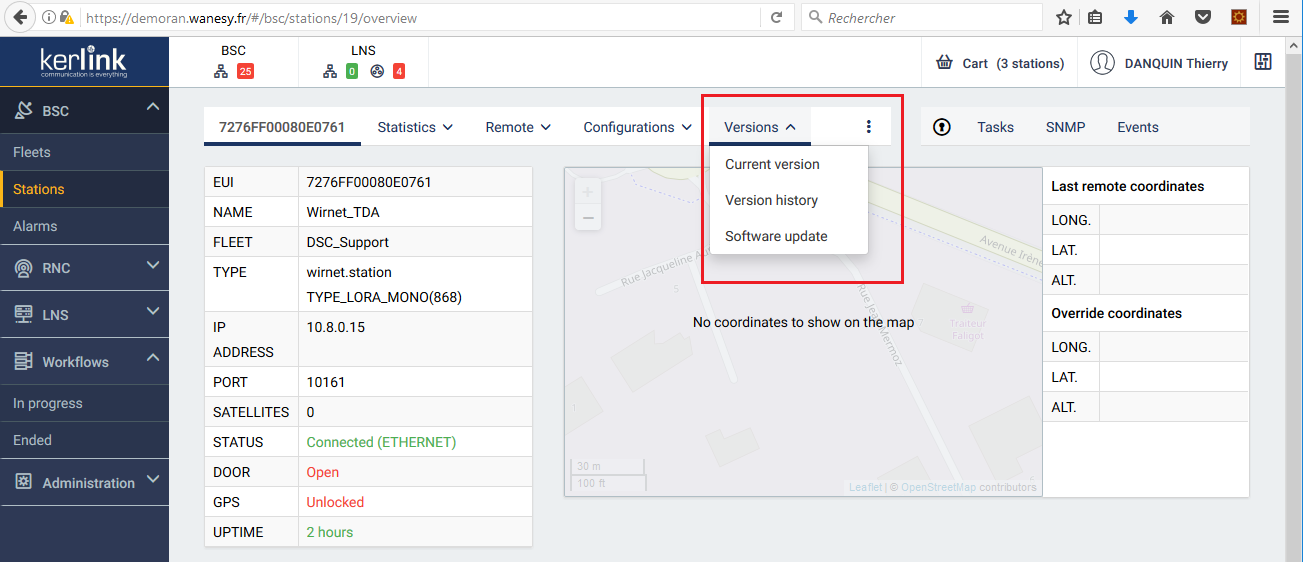
By selecting the “Versions” item of the menu options, you can obtain following information:
- information about the current version of the gateway,
- information about older versions of the gateway,
- information about the last software update,
Execute a software update
There are 2 ways to perform a Software Update through the Dashboard interface:
- Software Update by using Drag&Drop feature
- Software Update by using the Workflow feature
Software Update by using Drag&Drop feature
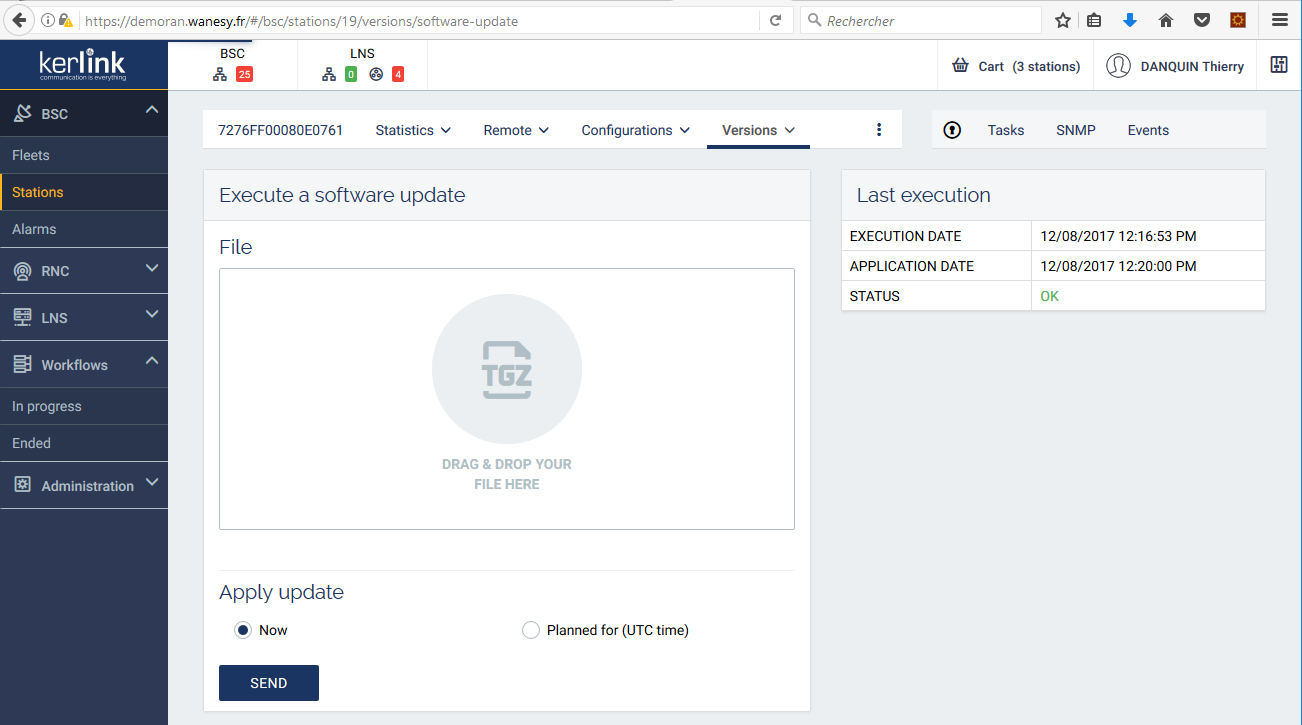
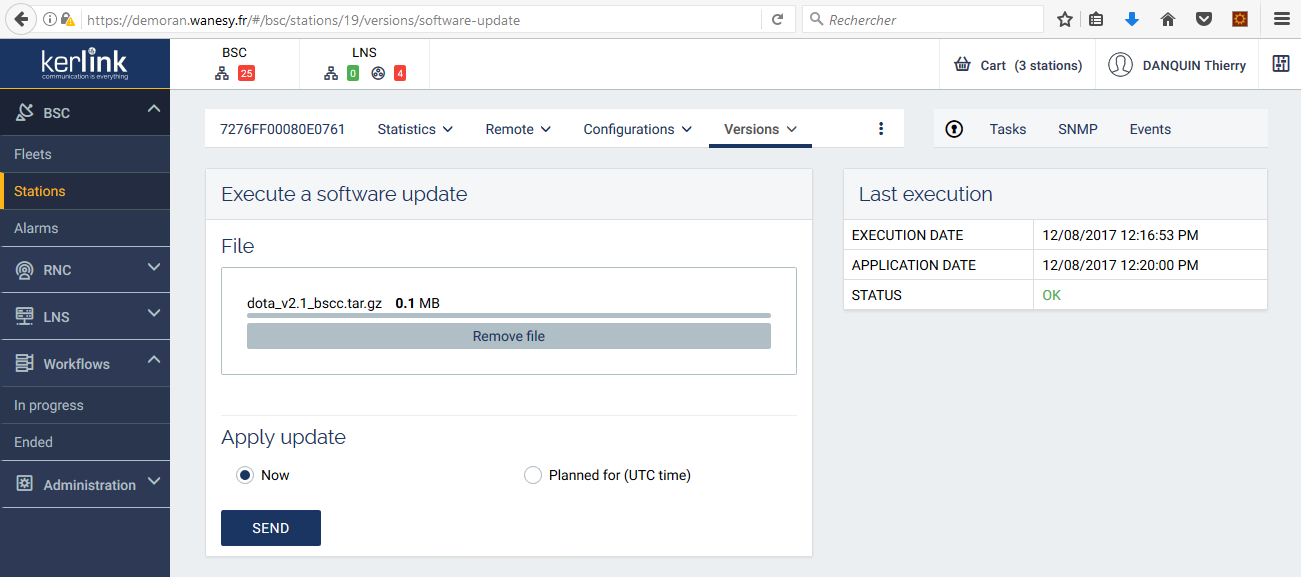
By selecting the “Software update” option, you can execute an update of your gateway:
- Drag and drop your .tar.gz file to the “File” area
- Select the date of the update (now or planned for a specific date)
- Click the “send” button to proceed to the update.
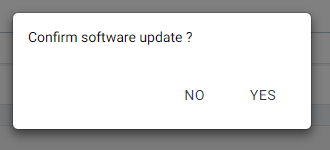
Then confirm the update :
Once the package has been received by the gateway, the following message is prompted to the user:
Then the system reboots to install the new package in the system.
If you don't wait sufficient time before proceeding to the new package update, the following message may be prompted to you:
Software Update by using the Workflow feature
From RAN 2.1 release version, it is possible to update a group of gateways by using the Workflow feature.
To achieve this function, you should :
- Create and save your list of stations or load your Cart
- Execute an updateFirmware workflow
Create your Cart
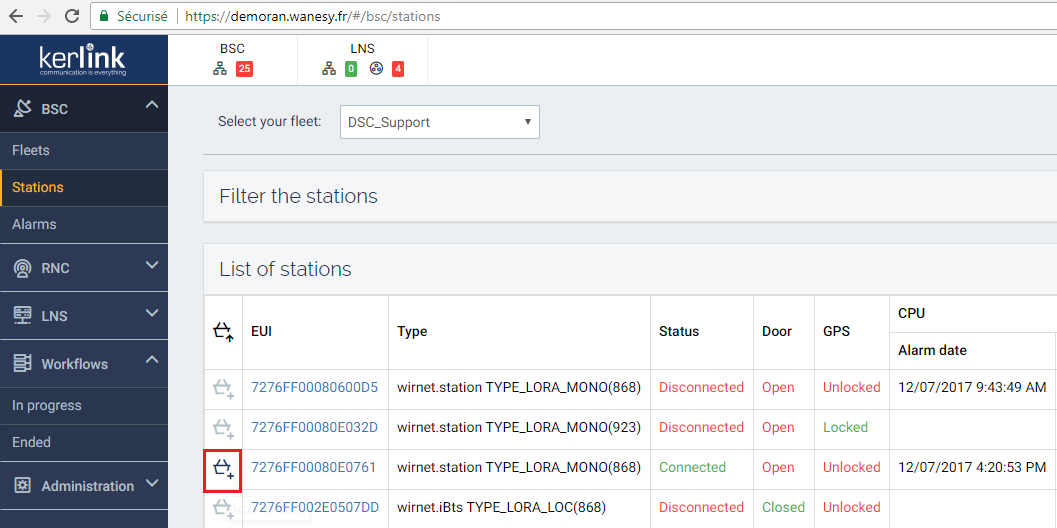
In BSCC menu, click on “Stations” and select the stations you want to add in your cart by clicking on the “Cart button” at the left side of the station's EUI:
Save your Cart
Click on the Cart icon located in the upper right side of your web page:
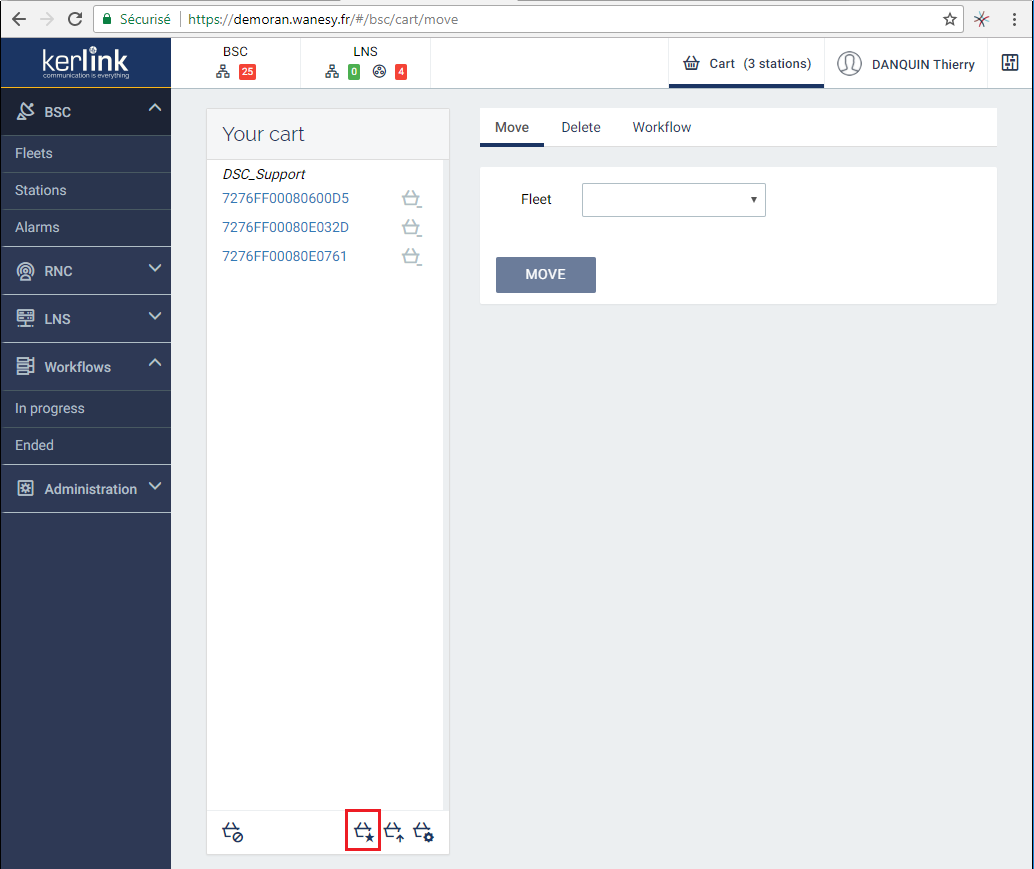
Then, select the “Save cart” icon at the bottom left of your page:
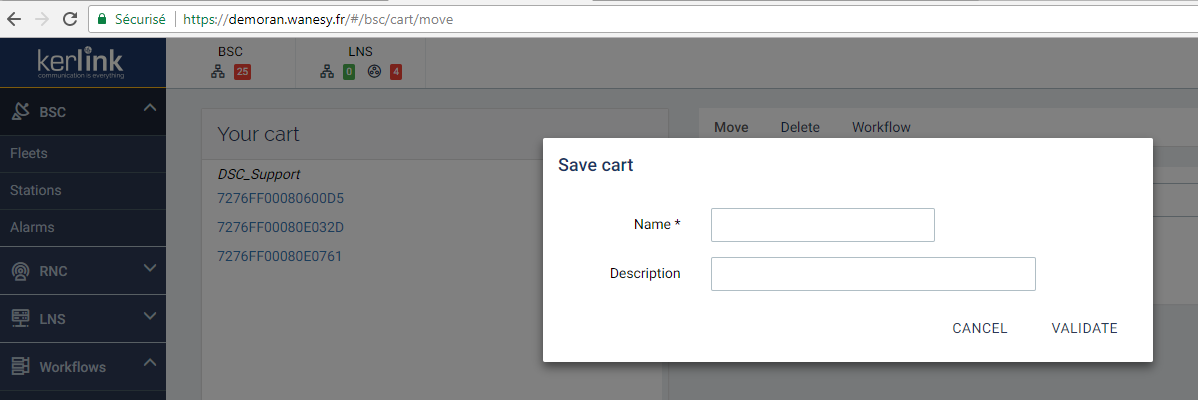
Enter the name of your Cart (mandatory) and a description (facultative):
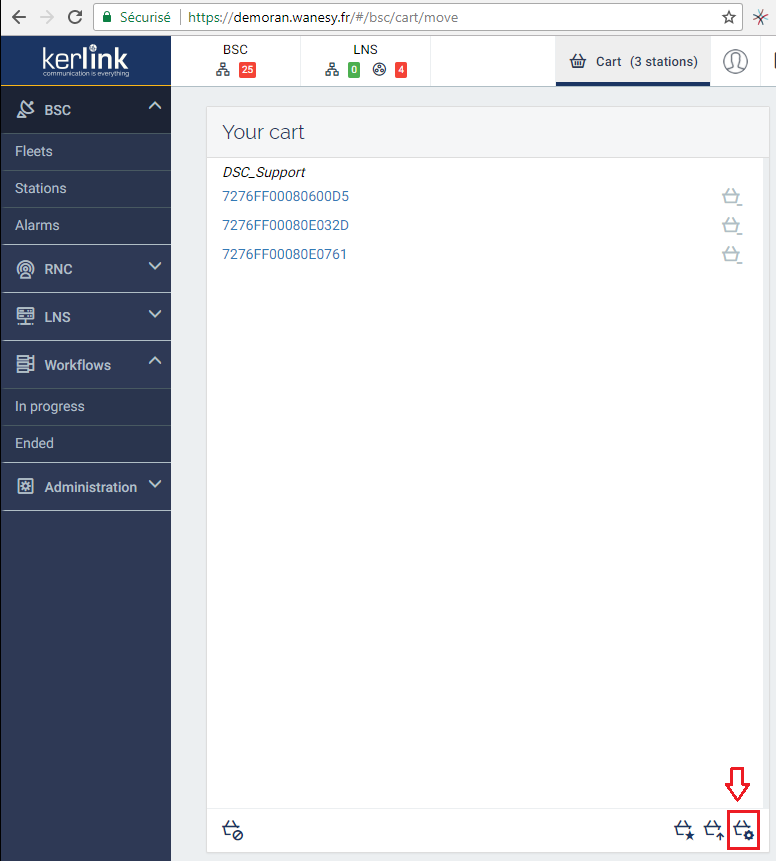
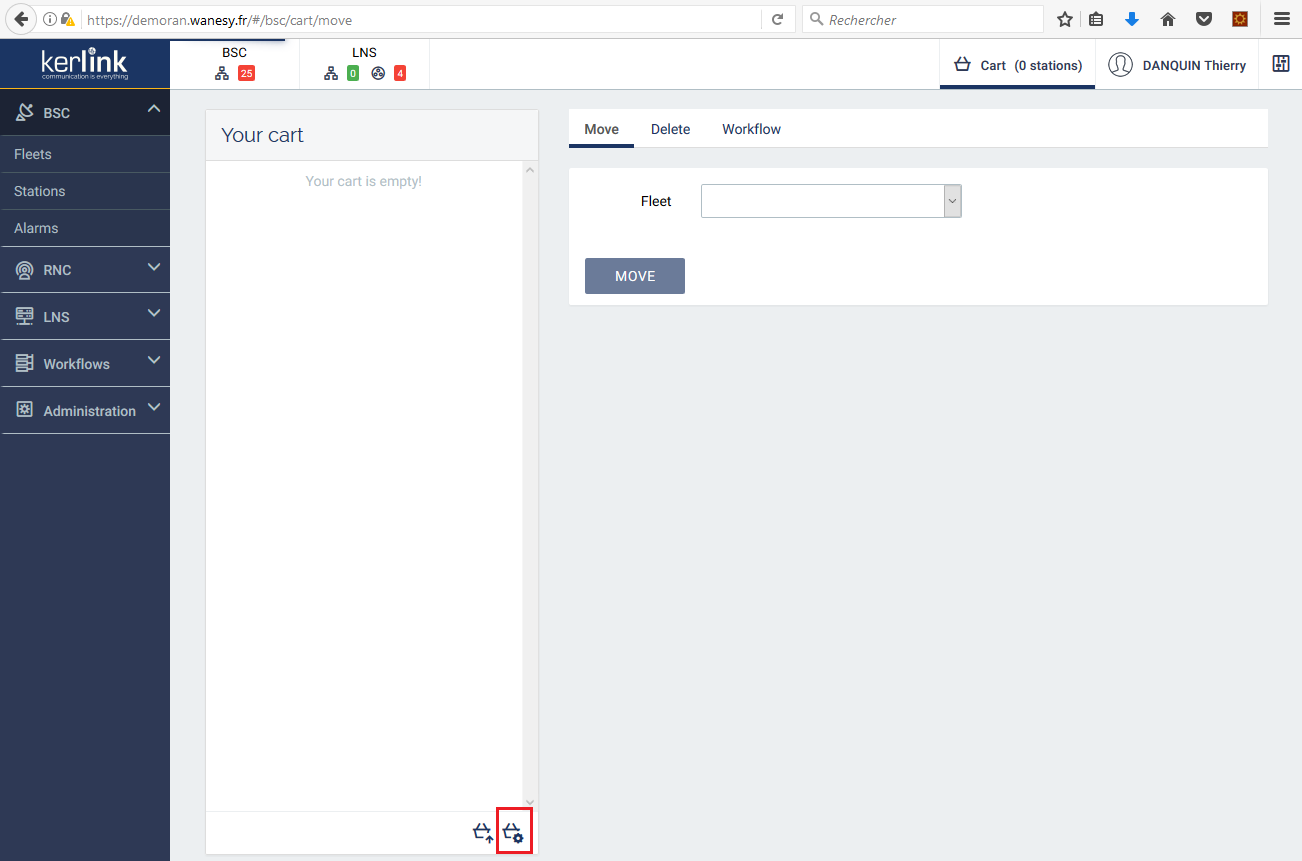
To ckeck the save operation has been correctly done, select the manage icon in the bottom right of your page:
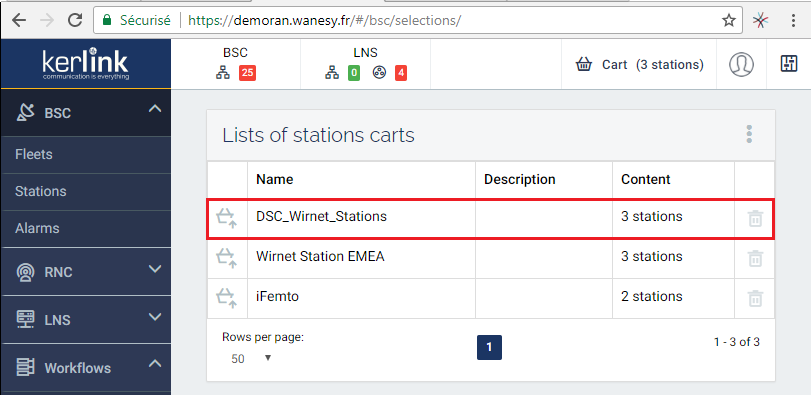
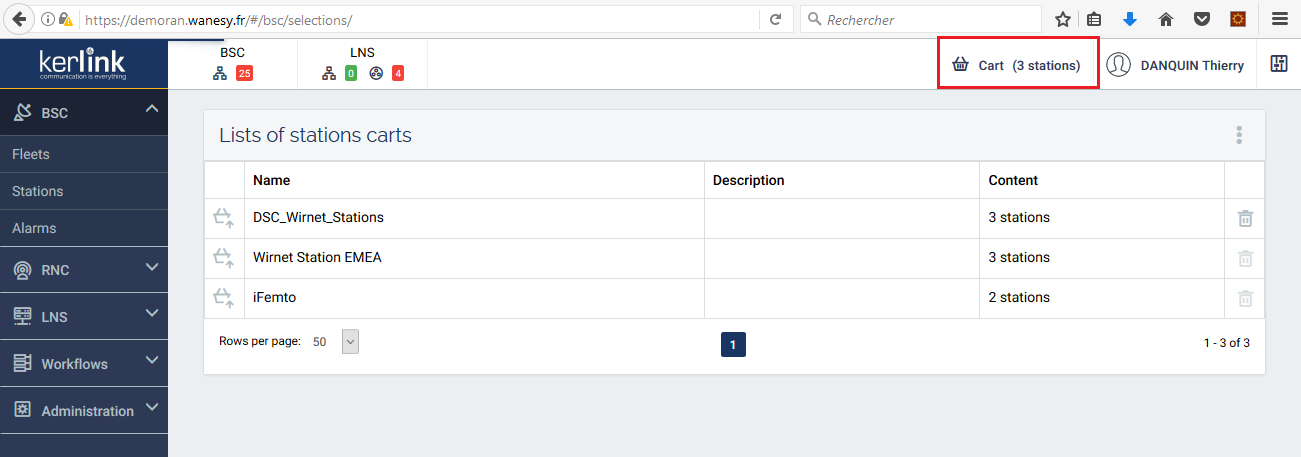
and check that your Cart has been successfully created:
Load your Cart
If your list of stations has been already saved, you can load it to your Cart by 2 manners:
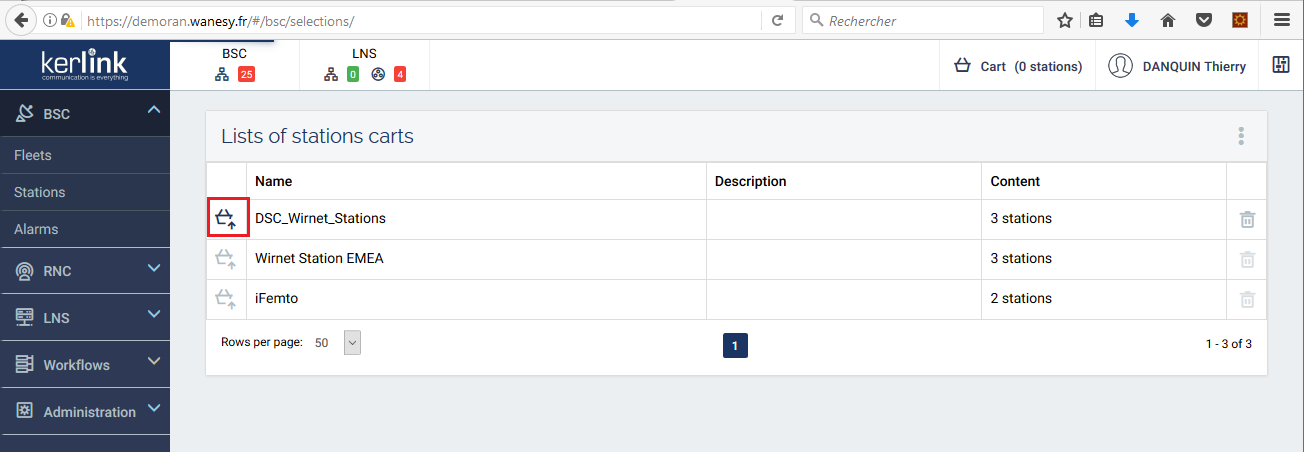
- from the manage function
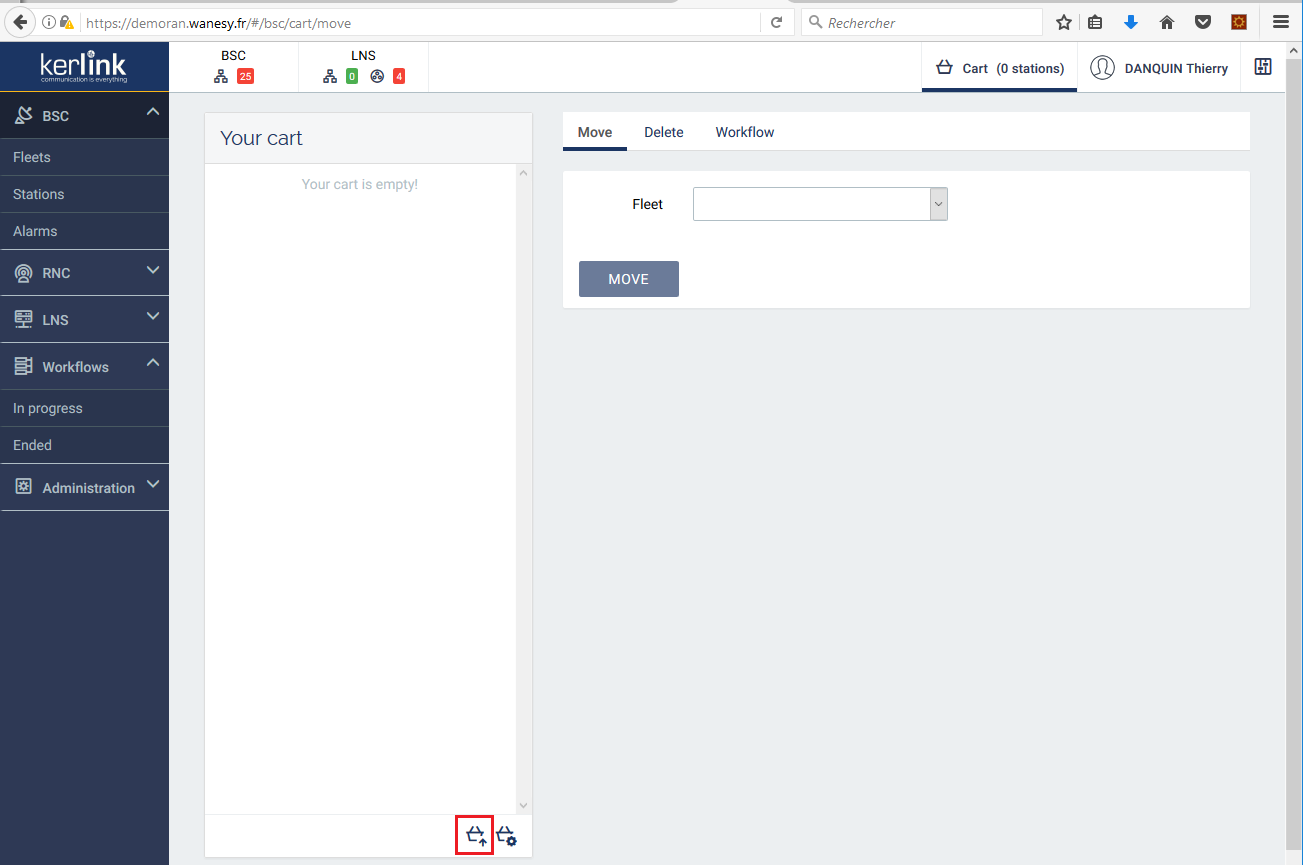
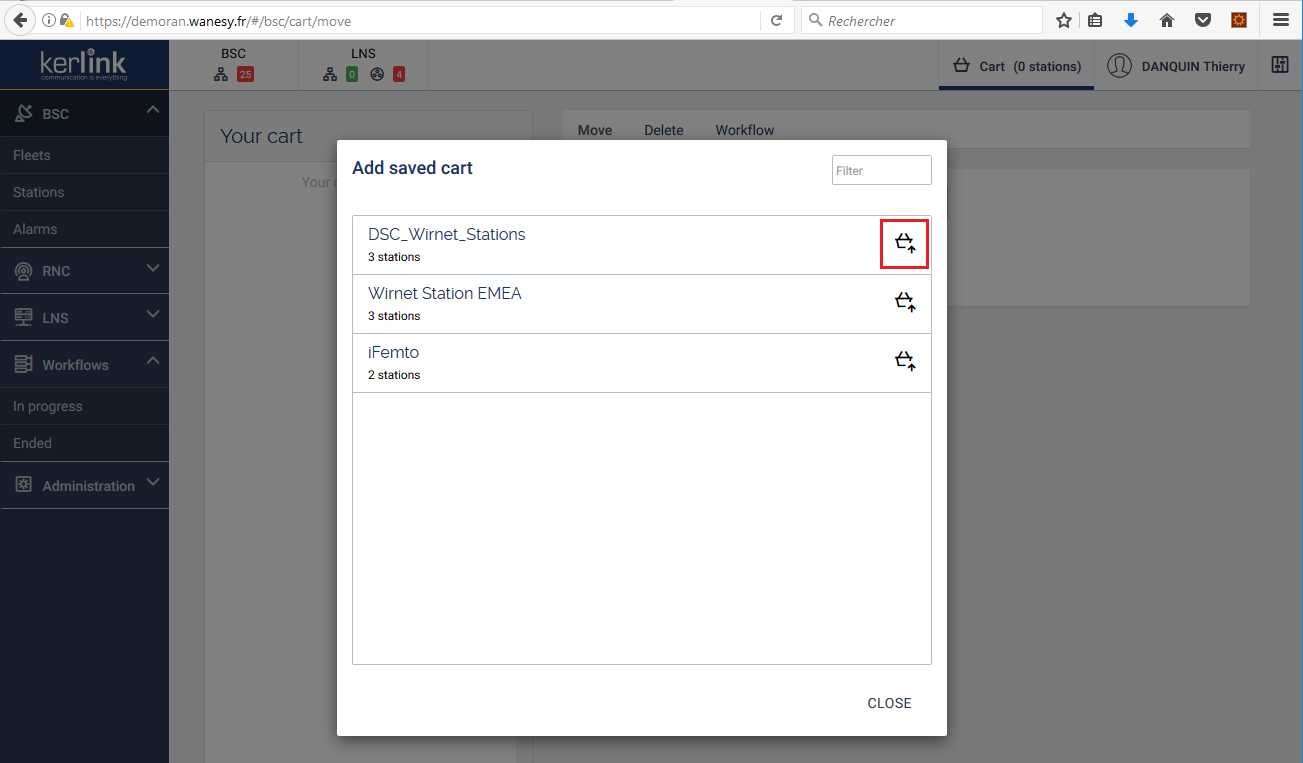
- from the add saved cart function
Load your Cart from the manage function
Load your Cart from the "Add saved cart" function
Execute an updateFirmware Workflow
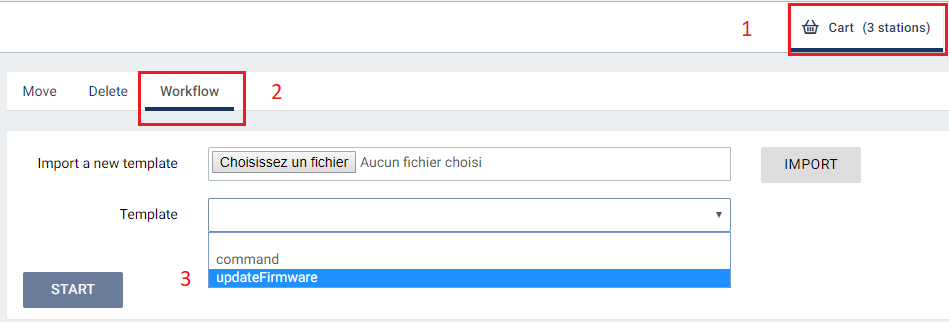
- Select the Cart icon
- Select the Workflow function
- select the updateFirmware option in the ListItems menu
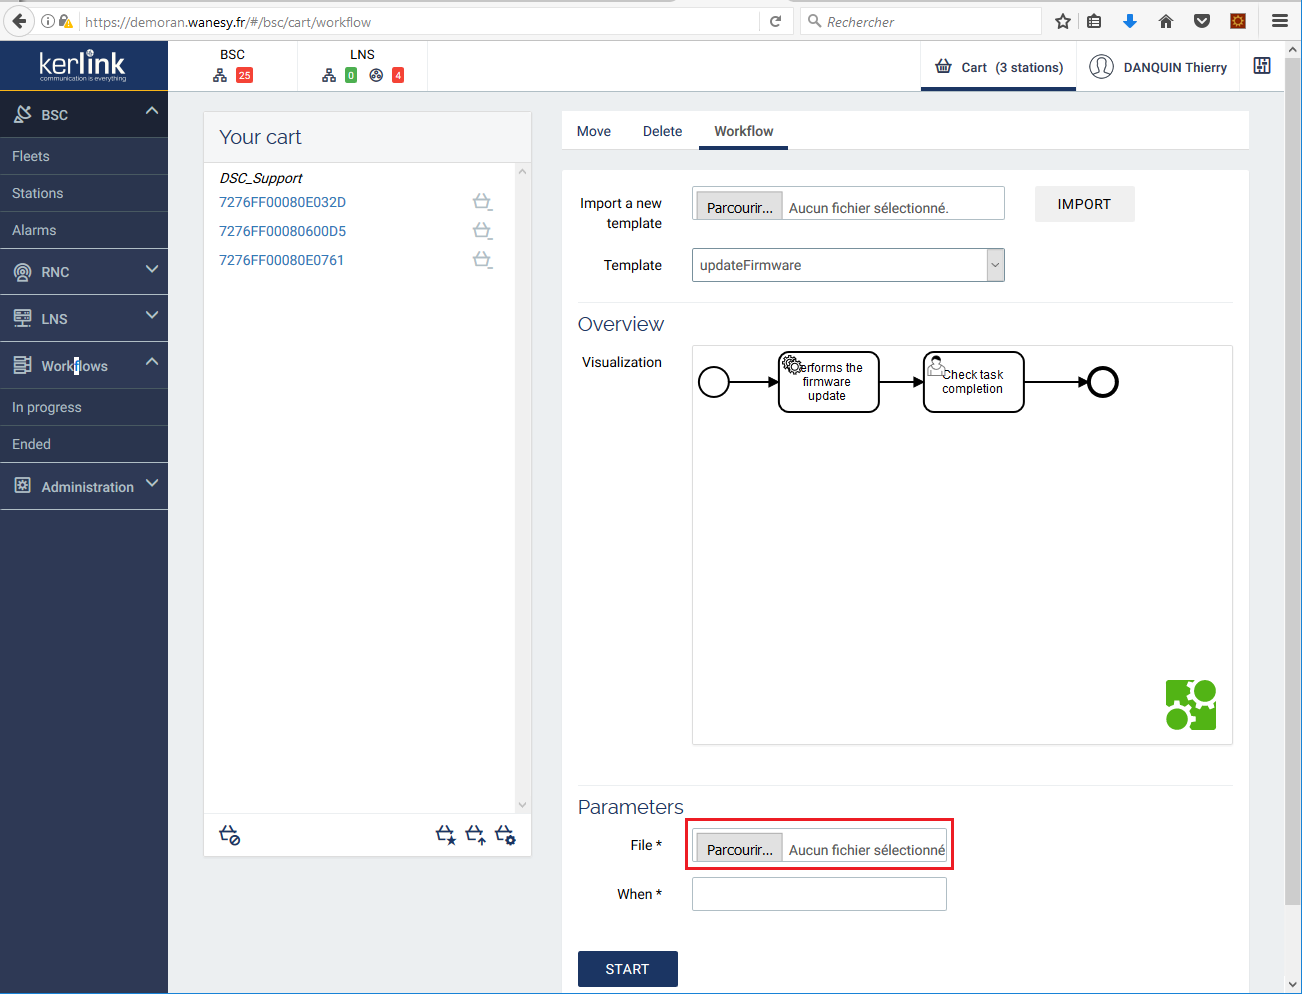
then select the file used to upgrade the gateway:
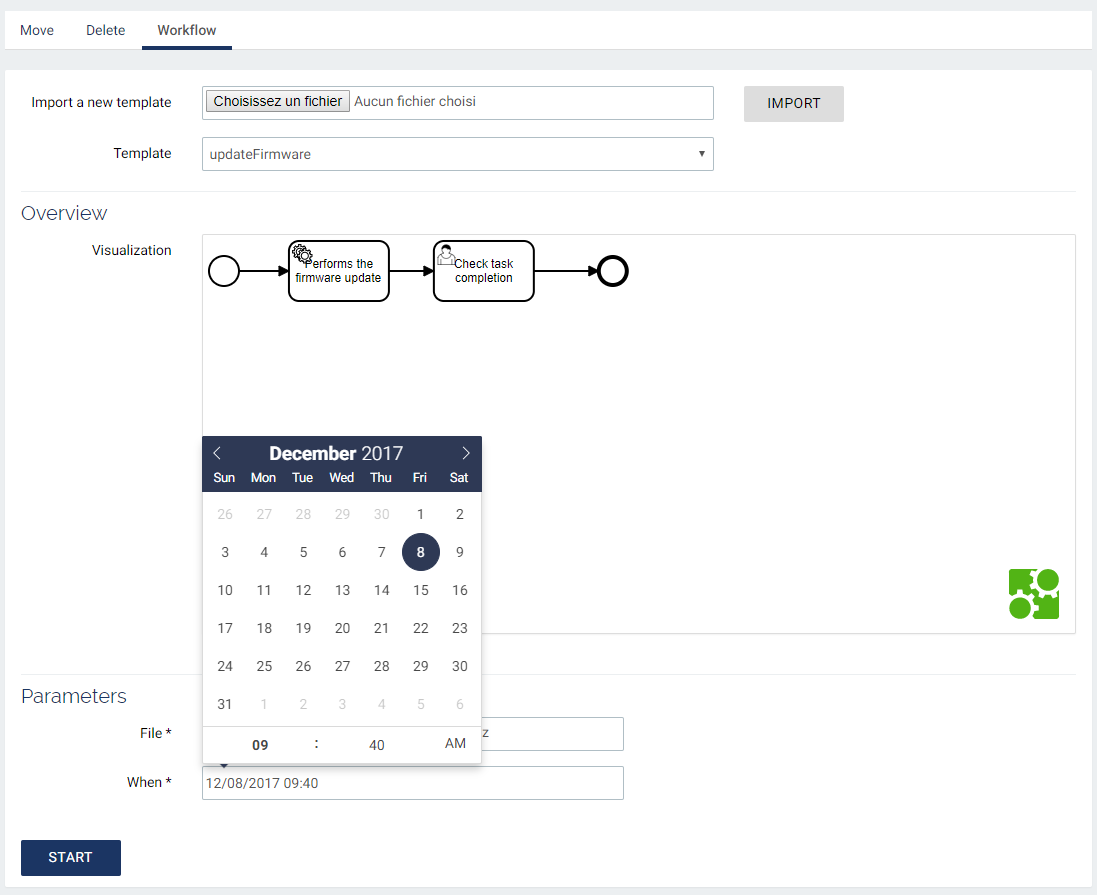
then select the execute date:
and select the START button. A message indicates that the workflow has started :
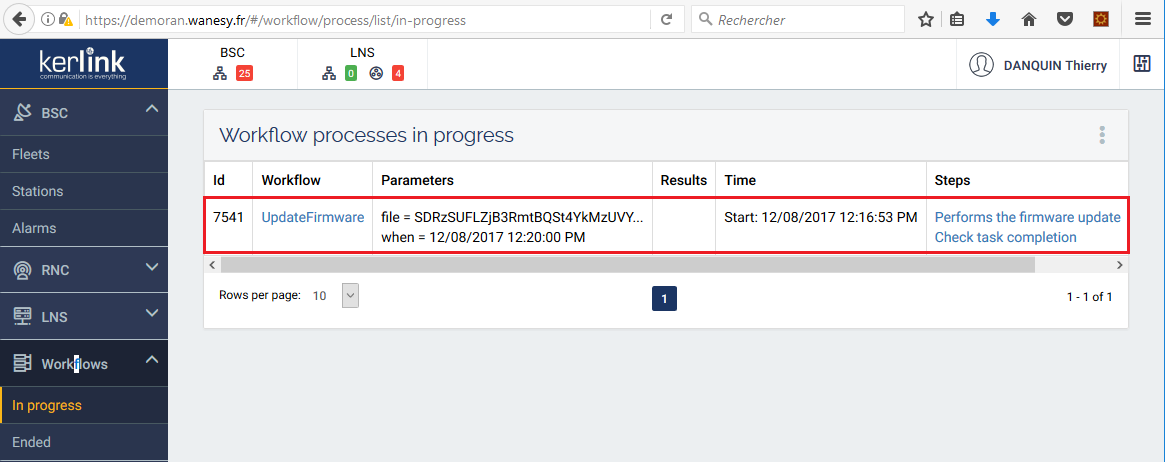
You can see your work in progress by selecting the Worflow feature in the main vertical menu in the left side of your page:
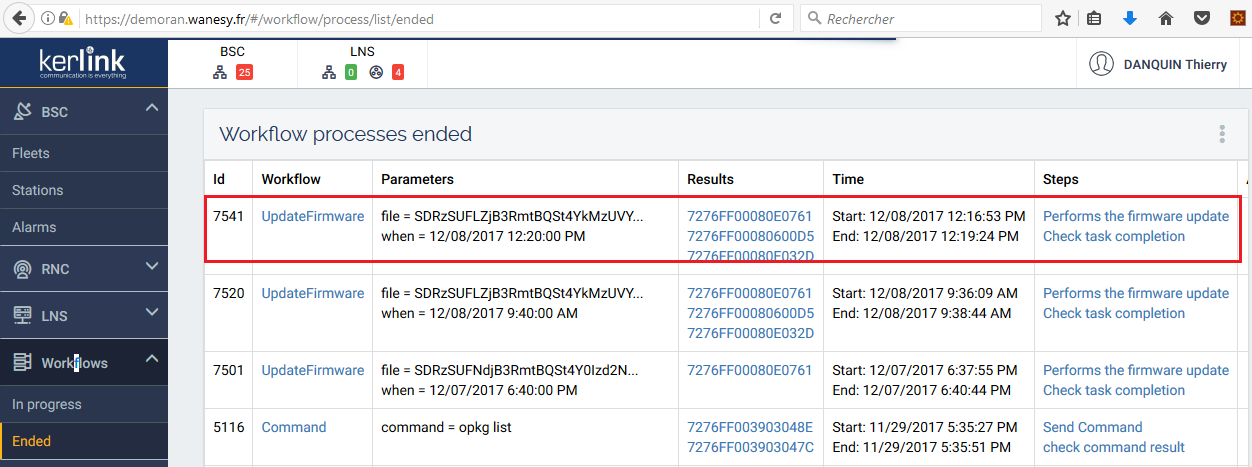
When the process completes, it disappears from the “Workflow processes in-progress” list and is added to the “Workflow processes Ended” list:
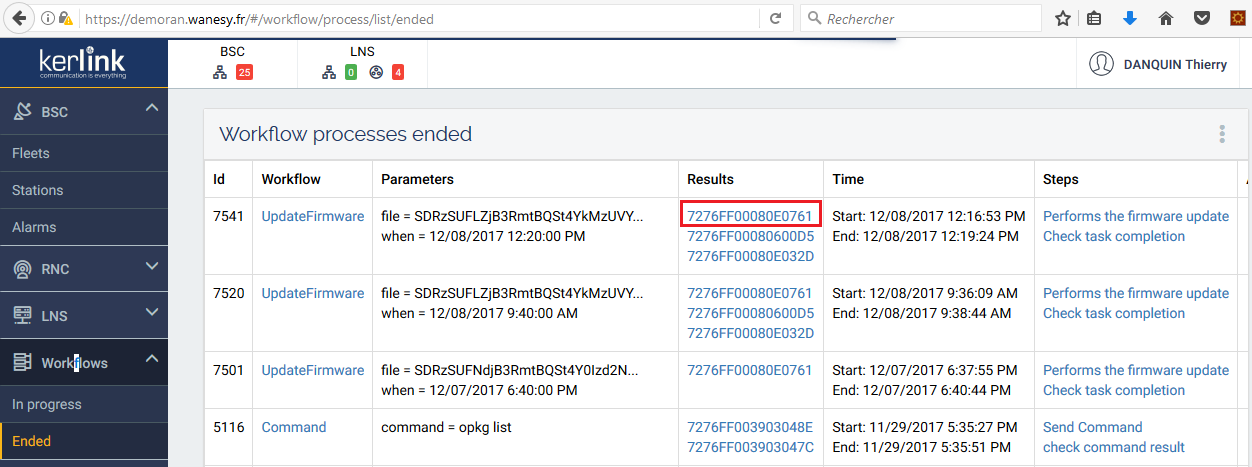
The operation result can be viewed by selecting the EUI of your station in the list:
Task, SNMP, Events
Tasks
This section lists all the tasks that were run on the station. When clicking on a task, you can see all its messages and SNMP logs.
SNMP
This section lists all the SNMP requests that were made on the gateway.
Events
It lists all events that were triggered on the gateway.
