Introduction
Firmware management:
LoRa network management
Interfaces:
Gateway administration
Support and resources:
Introduction
Firmware management:
LoRa network management
Interfaces:
Gateway administration
Support and resources:

For compatible iSeries ONLY: You can now download and install the SPN firmware & Slave license or SPN firmware & Master license using a single Magic Link.
See Magic Link.
Check your license version
| License | Version | Product |
| SRVLIC-SPN00 | SPN V1 | Wirnet Station |
| SRVLIC-SPN01 | SPN V1 | Wirnet iFemtoCell |
| SRVLIC-SPN2x | SPN V2 | Wirnet iFemtoCell / iStation / iFemtoCell-Evolution |
If you have SRVLIC-SPN01 SPN V1 for Wirnet iFemtoCell gateway you must use the following Wiki: Wirnet iFemtocell SPN.
If you have SRVLIC-SPN00 SPN V1 for Wirnet Station gateway you must use the following Wiki: IoT Station SPN.
Ethernet is available on all gateways but Wi-Fi only available on iFemtoCell model.
If ethernet is used, the gateway needs DHCP and DNS servers on the network to work properly.
On iFemtoCell gateway, Wi-Fi access point is available at boot time for one hour, broadcasting an SSID named after its serial number (klk-wifc-XXXXXX). It can only be used to access the Wanesy SPN iFemtoCell's web user interface (it does not route traffic to anywhere and does not serve as an Internet wireless access point)
The passphrase to connect to this Wi-Fi network is the Ethernet MAC address (it can be found on the Wirnet iFemtoCell label), in uppercase, without spaces between the digits, e.g. 7076FFYYYYYY.
Your computer may take some time to get the “connected” status, and the interface will have a “limited connectivity”, which is normal.
The home web interface is accessible at the following address:
| Gateway model | Address |
|---|---|
| Wirnet™ iFemtoCell | http://klk-wifc-XXXXXX/ |
| Wirnet™ iStation | http://klk-wiis-XXXXXX/ |
| Wirnet™ iFemtoCell-Evolution | http://klk-fevo-XXXXXX/ |
Where XXXXXX are the last 6 digits of board id.
Example:
Address to be used with the gateway owning the following label: http://klk-wifc-03002e/ (case insensitive)
Once login screen displayed enter following login/password:
user: spn
password: spnpwd
Start an SSH client (typically Putty on Windows) using the gateway’s name or IP address (the port is the standard 22). Default password is built using the last 6 digits of the serial number board ID: pdmk-$serialno.
After getting a prompt: enter login/password (e.g. “root / pdmk-$serialno”).
To control the version:
opkg list-installed: lists the installed packages.
Magic Link for SLAVE configuration:
curl –compressed -s https://upgrade.wanesy.com/SPN | sh
Magic Link for MASTER configuration:
curl –compressed -s https://upgrade.wanesy.com/SPN-master | sh
To have all the features of Wanesy SPN firmware, a license file is needed.
Administration ⇒ License menu
For security reasons, Kerlink strongly advises its customers to change the default password.
Administration ⇒ Gateway ⇒ Change password
The region where the gateway will be used needs to be configured.
Configuration ⇒ Region menu and select the region
Save configuration button
Gateway hardware contains 2 RF radios (0.8 MHz bandwidth for each radio). 8 multi SF channels and 1 mono SF channel can be configured on these 2 radios.
Rx configuration example (all channels enabled and configured):
Configuration ⇒ Rx configuration menuSave configuration buttonEnd-device must be registered before receiving any data
Fleet ⇒ End-devices ⇒ Manage end-devices menu
Override default Rx parameters if needed
Add end-device button
Fleet ⇒ Received data to display Rx data sent by the registered end-device. Click on Refresh button if needed (bottom right corner of the page)
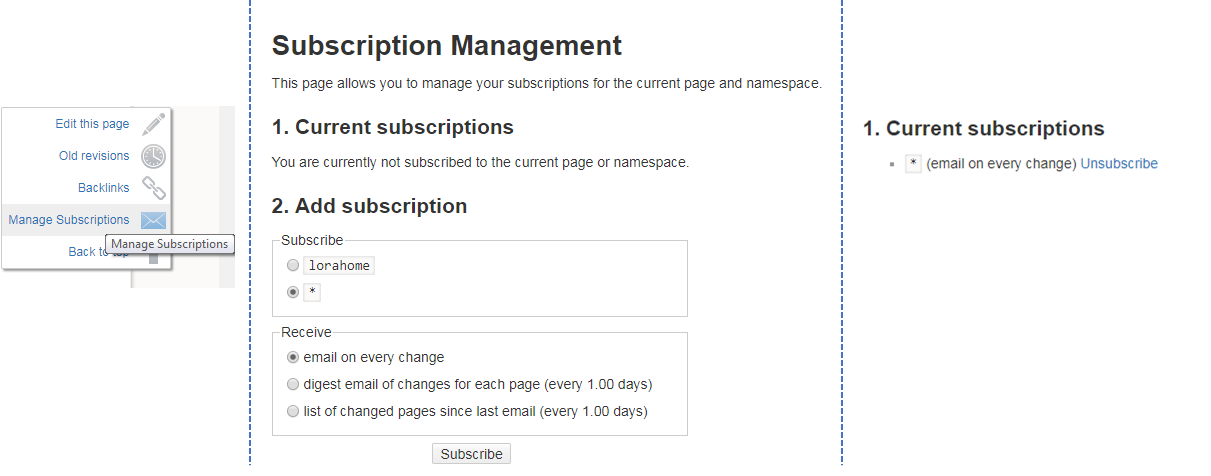
You can now register to Wiki update notifications:
